The Satuit Gmail Addon allows users to add messages, attachments, and contacts, view existing contact details that are already in the CRM and view existing activity details upon adding the message from Gmail.
Installation
Open the Gmail addon settings tab
- In the addons tab, ensure that you have selected the Enable developer addons for my account checkbox
- Paste your addon's deployment ID (provided by Satuit) into the Install developer addon textbox and click Install
- In the Install developer addon dialog that appears, click the checkbox to indicate that you trust this developer, then click Install
Setup
On a desktop device, open Gmail. You may need to refresh the tab if Gmail is already open.
Choose a message in Gmail and open it.
Your installed add-ons appear as a column of icons to the right of the open email thread. Click on the bookmark icon that corresponds to the "SatuitCRM Addon" you just installed.
- The addon should place a contextual card on the right side of the window, with a message asking for authorization. Click the Authorize access link to open a dialog where you can authorize the addon
- Select the account that should authorize the addon. Users must authorize add-ons and other applications that access their data or act on their behalf. When a user runs an addon for the first time, the UI presents an authorization prompt to start the authorization flow. During this flow, the UI tells you what the application wants permission to do. For example, an addon might want permission to read the user's email messages or create events in their calendar
- The next dialog may inform you that the app is not verified. In this case, you can proceed by doing the following:
- Click Advanced
- At the bottom of the dialog, click Go to Gmail addon Quickstart (unsafe)
- In the new dialog, type "Continue" into the text field, then click Next
- Read the notice in the next dialog carefully, then click Allow
- Once authorized, the addon should automatically refresh and start operating
Using the Gmail Addon ⏯
On a desktop device, open Gmail. You may need to refresh the tab if Gmail is already open. Choose a message in Gmail and open it.
Your installed add-ons appear as a column of icons to the right of the open email thread. Click on the bookmark icon that corresponds to the SatuitCRM Addon.
Add an Email/Activity to CRM (Quick Add vs Full Add)
The Satuit Gmail Addon sidebar displays information about the message as well as the contacts which are associated. If this is a new activity, the Activity Details section will display the "QUICK ADD" and "FULL ADD" buttons.
Before adding an email to the system, it is best practice to create the contact right from within the SatuitCRM Addon window if they are not already.
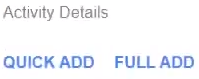
QUICK ADD - This will automatically associate the email with the contact in the CRM.
FULL ADD - This will allow you to choose which Entity the message should belong to as well as the primary contact.
Add a New Contact
Within the SatuitCRM Addon window, contacts that are not currently in the CRM will have a "N/A" listed below their email address and a tag icon offset to the right.
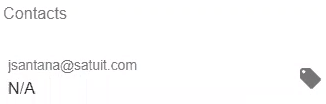
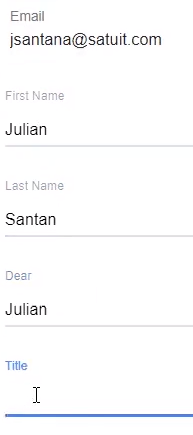
Select the tag icon, click 'SEARCH BUSINESS', search for the business if it is already created within the CRM, select the correct business name, click 'SELECT', and finally fill out the contacts information as complete as possible, then scroll down and click 'CREATE'. Once the contact has been created, you may select 'QUICK ADD'.
View Existing Contact Details
Click the Person icon next to the contact you wish to view. Here you can see information about this contact that is already in the CRM. Satuit Administrators can configure the fields shown on this screen using the familiar Satuit2GO Form Design tool.

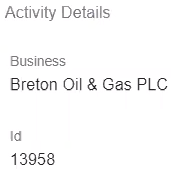
View Existing Activity Details
If the activity has already been added to SatuitCRM, the Activity Details section will display the Business the activity is associated with as well as the activity ID number.