Audit Reports
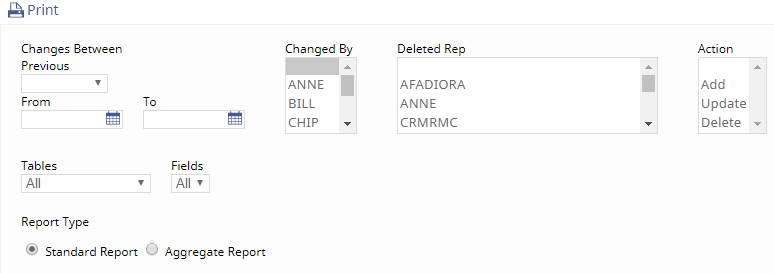
The Audit Reports allow System Administrators the ability to track changes in a certain date range, changes made under a particular log-on, a specific action, or target changes made to a table and field.
The Audit Report allows you to choose between the Aggregate Report (last change made) and the Standard Report (cumulative changes).
Application Access Log
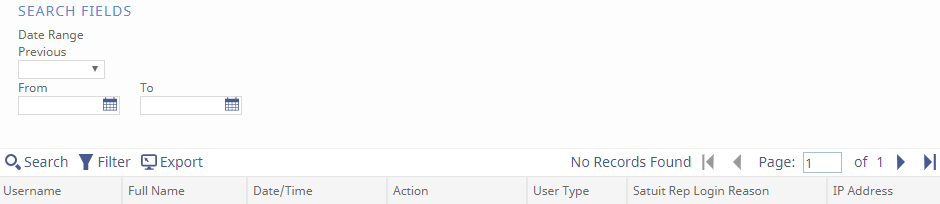
The application access log will track Satuit Authorized use and your user's log-ins as well. For Satuit Authorized usage the log will capture the reason for logging in for your records.
Filter options - Allows for searching by:
- Username
- Full Name
- Date/Time
- Action - Captures Logins, Password Changes, Account Locks & Failed Logins
- User Type - Captures Account User vs. Satuit Rep
- Satuit Rep Login Reason - Captures Satuit Rep Login Reason
- IP Address
Additionally, this information can be exported with the following output types:
- Excel
- HTML4.0
- Word
- XML
To access the data within the Application Access manager select the filter options to view the application access log.
Email Export Templates
You can set the Email Export Template for the Opportunities, Activities, Documents, Accounts, and Deal Flow tabs. This will set the export template for all users when they select to email the detail form.
MS Word Templates
Custom merge forms (.mrg) are used as templates that can be reused for faxes, boilerplate letters, and other routine correspondence. Once these forms have been created, they need to be stored in the MS Word Templates section of the System Administrator. (Note: To learn how to create these files, refer to the Satuit Advanced Features Manual).
- From the System Administrator menu, choose Letters/Fax Folders and Files
- To create a subfolder, click the 'Create Sub Folder' icon and enter the folder name. These folders may be used to store the merge forms of the different teams at your organization
- To upload a merge file, click the 'Browse' icon and select the file to be uploaded. Make sure the file is saved in double quotes with the extension .mrg ("filename.mrg") prior to uploading the file
- After choosing the file to upload using the browse feature, click the Upload File icon to begin the upload. When the file has completed uploading, a message will appear indicating a successful upload. The new file will now appear in the list of files accessible by all users from the Contact form
- To delete a file or folder in Letter/Fax Folders and Files, highlight the file or folder to be deleted and click the respective Delete icon